


If you love making ice cream from scratch, then having an ice cream machine at home makes things easier. With this in your kitchen, you can create all sorts of ice cream flavours minus the elbow grease. All you need is to know which button to press! Follow these easy steps on how to use an ice cream maker for delicious frozen treats, the quick, homemade way.
Read the Manual
There’s only one science behind making homemade ice cream, but ice cream makers vary in terms of design and operation. Some are electric, while others take a more manual approach. So, when learning how to use an ice cream maker, make sure to go through the instruction manual first.
Study its different parts and how to assemble them, especially if it’s your first time to use an ice cream maker. Usually, these include a canister or internal bowl where your ice cream mix would go and a paddle for churning. If you have purchased an electric model, get to know the control panel and the purpose of each button or dial.
Freeze the Bowl
After reading the manual, it’s time to freeze the ice cream bowl. Freezing duration varies, but it’s usually for several hours to overnight. When making ice cream, proper temperature is very crucial. Churning your mixture with frozen equipment helps in making great ice creams with the right consistency.
Ice cream makers with built-in freezers do not need this step, though. With this type of unit, you can make ice cream any time and in several batches within a day. You can purchase a spare bowl accessory for your machine, too, if you like so you can make more frozen desserts in different flavours.

Prepare the Mixture
While waiting for your ice cream bowl to freeze, you can start whipping up your mixture. You can go from simple chocolate ice cream to something more complex. If you’re still learning how to use an ice cream maker, try the ice cream maker recipes provided first. Also, follow the ingredient amount in the recipe to avoid overfilling your ice cream maker.
For a light ice cream texture, a Philadelphia-style mixture is ideal. It’s quick to make, too, and requires pantry-ready ingredients like milk, cream, sugar and vanilla bean or extract. But if you like rich textures best, try doing custard or French-style ice cream. This one needs egg yolks to make. Whichever method you choose, make sure to cover your bowl with plastic wrap. Then refrigerate your mixture for 3 to 24 hours, following your recipe instructions.
Set Up the Machine
It’s time for the fun part! Take the ice cream bowl and your mixture out of the freezer and fridge. Place the bowl into the unit and attach the beater or dasher. Turn the ice cream machine on then pour your mixture in to start churning. If you have a hand-cranked ice cream maker, have ice and salt ready. Once you have the frozen bowl in place, add the ice and salt to the compartment, pour in your mixture then start cranking.
Make the Ice Cream
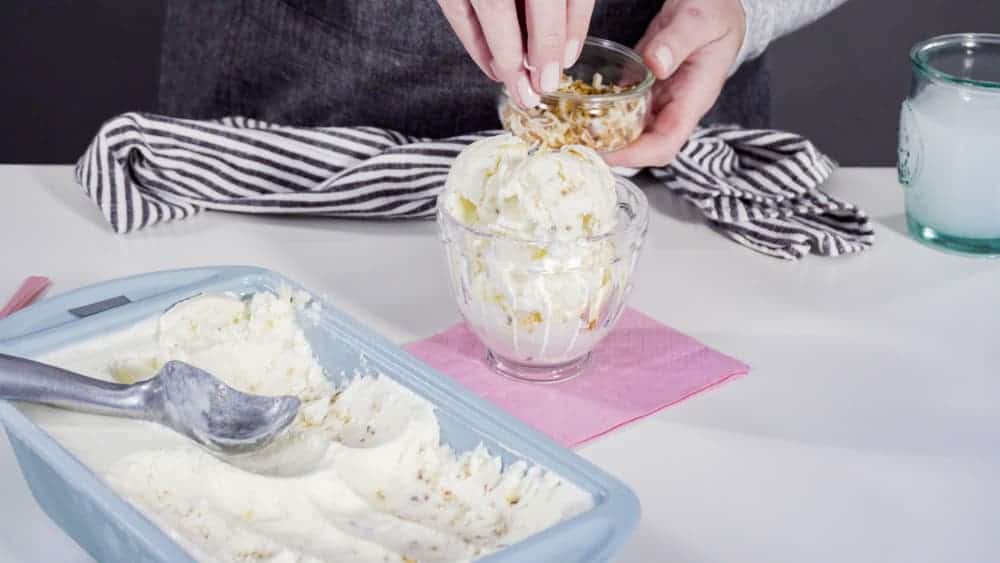
Churning time depends on your unit and ice cream recipes. Some need about 20 minutes, while others may take longer. But, generally, the goal is to turn your liquid mixture into soft-serve ice cream consistency. It should be slightly thicker than your milkshake. Also, while churning, you may want to throw your favourite add-ins to the mix. Take your vanilla ice cream to the next level by adding chocolate chips, caramel sauce, nuts, berries or sprinkles. It’s all up to you!
Once that’s done, you can serve your soft-serve ice cream now. Alternatively, you can freeze it further in a freezer-safe container or bread loaf tin. When doing this, use a rubber scraper to transfer your churned ice cream mixture. Then cover it with parchment paper or plastic wrap. To avoid ice crystal formation, make sure the cover is touching the surface. Freeze the container until your ice cream is firm enough to scoop out. It should take about 4 hours.
Clean the Ice Cream Maker
Learning how to use an ice cream maker doesn’t stop in enjoying your frozen dessert. You need to know how to clean your ice cream maker after every use, too. Make sure to take note which parts are dishwasher safe or require handwashing. Follow these generic steps to keep your unit in good condition for longer:
- Take the individual parts out of the unit.
- Handwash the bowl and dasher in warm, soapy water.
- Rinse its parts thoroughly then air dry.
- Wipe the unit exterior clean with a damp cloth.
- Use a dry clean cloth to wipe the washed parts.
- Reassemble the unit and store until next ice cream time!


