


Food waste caused by spoilage is a common and frustrating problem in most home kitchens. It’s a waste of money and harmful to the environment. But with a food vacuum sealer on your benchtop, you can effortlessly stop time and prolong the shelf life of your food like meats and produce. All you need is to learn how to vacuum seal food the right way. Here’s a list of steps to follow.
Steps on How to Vacuum Seal Food
There are several reasons why our food items go stale or spoiled over time. One of which is air exposure. But thanks to nifty food vacuum sealers, we can now seal foods in an airtight environment. Aside from extended shelf life, you don’t have to worry about freezer burn either. Frozen vacuum-sealed foods are stackable and space-efficient, too. Plus, doing it takes three simple steps!
1. Turn on your food vacuum sealer
This first step couldn’t be any simpler. But if you have yet to buy a food vacuum sealer, you need to know which type you should be using. There are three types. The chamber-type sealer is a big kitchen appliance ideal for sealing solid and liquid foods in large batches. It’s a bit expensive but worth it if you do a lot of vacuum packaging at home.
The external-type sealer is significantly cheaper and less versatile but more compact. An external vacuum sealer is not best for sealing liquid types of food, though. But it is an excellent choice for casual users or homemakers learning how to vacuum seal food for the first time.
Then there’s the pistol-type sealer, which is the most compact machine of the three. It is a handheld device (with cord and cordless-type options) for manually sealing vacuum bags and drawing air out. However, you need to purchase packaging with built-in valves for this vacuum food sealer to work.
2. Place your food item in a vacuum bag
With your machine ready, prep your food for sealing next. When doing this step, make sure to roll the top edge of the bag inside-out. This way, the sealing section of the bag stays clean and dry. Moisture within the top part can affect the sealing process and result in partially sealed storage bags.
Also, choose a bag size that is big enough for your food to fit in and has room to spare. You need the extra space to seal the bag securely plus remove the air inside it. A headroom of about 3 to 5cm between your food and the top section of the vacuum packaging should be sufficient. If you want, use bags for vacuum sealers come with a maximum fill line that you can use as a guide.
Now, there are several bag types available for vacuum sealing. If you have a chamber food vacuum sealer, smooth-textured bags are best but more expensive. For external food vacuum sealers, mesh-textured bags have the extra grip to create a good seal. They’re cheaper, too. When choosing your first food vacuum sealer, you might want to include bag types to your buying decision as these will add to your long-term expense.
3. Seal the vacuum bag
Finally, open the sealer lid then position your bag’s top edge at the mouth of your machine. Wait for the indicator or signal, depending on your sealer model, to know if you can start sealing. Then, press the one-touch operation of your vacuum sealer to close and compress the bag at the same time.
If you have a pistol-type sealer at home, you would have to use its manual sealing mode first to close the bag, then use the machine to draw air out. The steps will be slightly different, so make sure to read the instruction manual. Label your bags with the food type and date after sealing or before putting food inside. Then store your vacuum-sealed bags in the fridge or freezer.
Tips on Using Food Vacuum Sealers
Knowing how to vacuum seal food is quick and easy. But extra techniques make food vacuum sealing a lot more effective. These tips should come in handy.
Blanch vegetables before vacuum packing
This extra step prevents natural enzymes from affecting the nutritional value, flavour and colour of your veggies while in the bag. To do this, boil your sliced vegetables in a pot of boiling water for 3 to 4 minutes. Take them out using a slotted spoon, transfer them to a bowl of water with ice then drain. Pat the vegetables dry before sealing them in a vacuum bag. You can do this for cruciferous veggies such as broccoli, Brussel sprouts, cauliflower, cabbage and turnip.
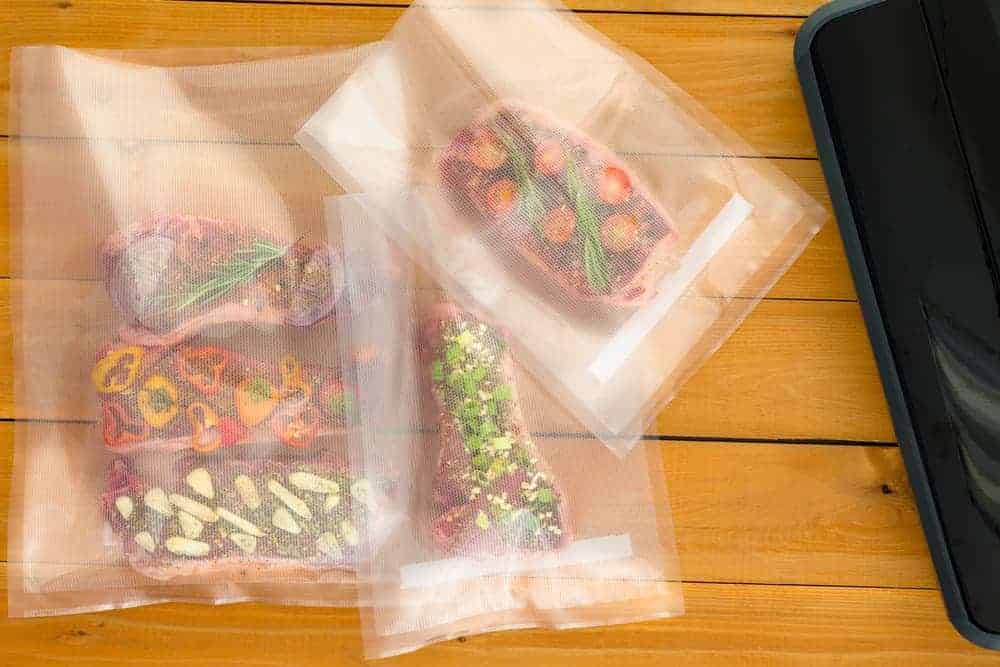
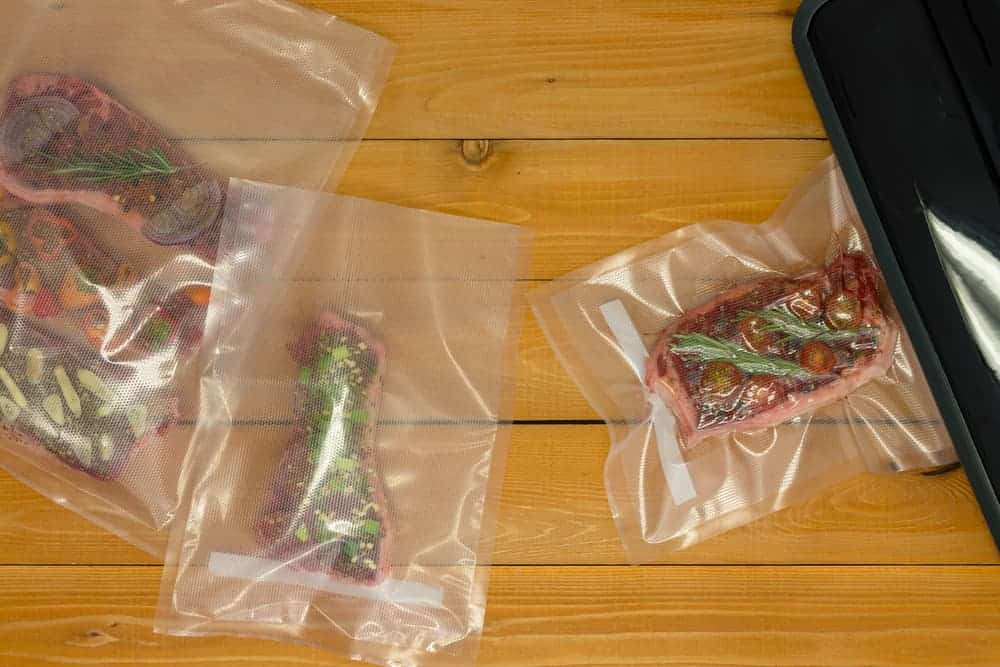
Season meats before vacuum sealing
Adding dry rub or marinade should keep your proteins flavourful while in storage. When it’s time to cook, all you need is to take them out of the bag. However, you can also pack fresh meats as is without any seasoning. Just make sure to pat them dry with a paper towel before putting them in the vacuum packaging.
Freeze liquid food when using external sealers
If you don’t have a chamber-type sealer at home, you can still vacuum seal liquid food with an external machine. All you need to do is to freeze your soups, sauces, stocks or marinades first before putting them in the bag for sealing. Here’s another trick: elevate the sealer! Place it on top of an overturned baking pan to avoid pulling liquids into your machine.
Use proper sealer bags for reheating or cooking
Choose food-safe vacuum bags to make them safe for microwave reheating, boiling or sous vide cooking.
Portion large amounts of food
Instead of storing everything in one large bag, use smaller ones. Then divide food in manageable servings based on your recipe or consumption. It makes thawing much faster, too, and eliminates the need to reseal or transfer food in a new bag.
Use the Pulse mode for certain kinds of food
Some food vacuum sealer models have controls for reducing suction power to prevent deforming or crushing fragile food items. This option is perfect if you often vacuum seal bread, tomatoes, cooked foods, soft fruits and other delicate foods. Some machines have dedicated buttons for sealing moist and dry foods as well.


